How To Cut Face Framing Layers? Step-By-Step Guide
Craft some signature face-framing layers at home and find your unique style.

Image: Shutterstock
Do you want to learn how to cut face-framing layers at home? Well, the process is not merely about styling hair, but also about understanding how to craft layers that naturally complement your face. Face-framing layers are much more than a fashion statement. In fact, they are a stylist’s key to personalizing hair. Whether they graze the cheekbones or fall towards the chin, these subtle yet impactful snippets tailor your hairstyle to your face’s unique shape.
While the technique might feel sophisticated, the steps are quite simple. With the right tools and some patience, anyone can create layers that bring new life and movement to their hair. In this article, you will learn how to cut face-framing layers that add to your individual style. Continue reading!
 Before You Get Started
- Assess your face shape to tailor the layers optimally – each structure benefits differently.
- Hair texture should also be taken into consideration while assessing the length.
- Select the tools carefully: sharp shears, a fine-toothed comb, and hair clips are necessities.
- Clean, damp hair ensures an even, manageable cut – avoid overly wet or dry hair.
- Establish your work area ensuring good lighting and at least one large mirror.
In This Article
A Step-By-Step Guide To Cutting Face-Framing Layers
Cutting your hair on your own can be an empowering undertaking – you can update your look at zero cost and at your convenience. Even hair stylists do not hesitate to agree that learning how to cut face-framing layers is a skill worth mastering. If you are up for the challenge, below are the steps to carry out this framing technique, so you achieve salon-quality looks at home.
1. Gather Your Materials
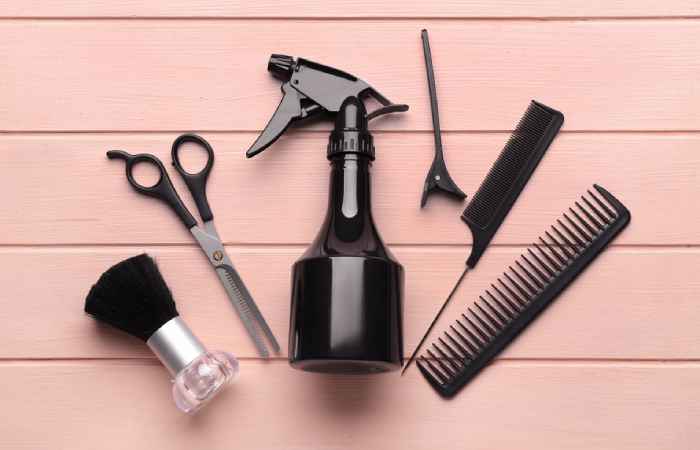
Before diving into your DIY framing technique, gather all your tools. You will need:
- Hair-cutting shears
- Fine-toothed comb
- Hair clips
- Spray bottle with water
- A mirror
- A blow dryer
2. Prep Your Hair
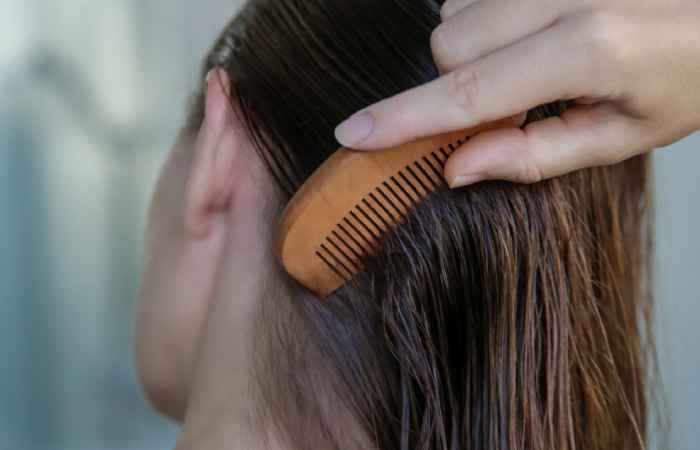
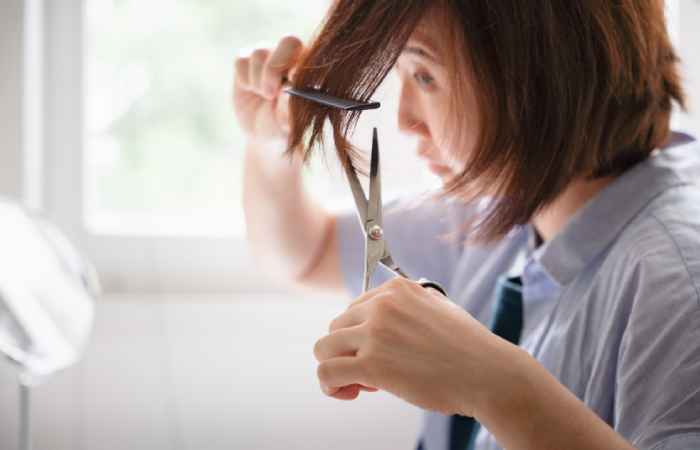
Start with freshly washed, damp hair as it is also necessary to remove product build-up and residue. Then, detangle your hair. Combed hair that is damp is easier to cut than dry hair because it is more uniform, less voluminous, and less prone to flyaways. Make sure your hair length is evenly damp but not dripping wet. Keep spritzing water from a spray bottle to keep the hair damp throughout.
3. Section Your Hair
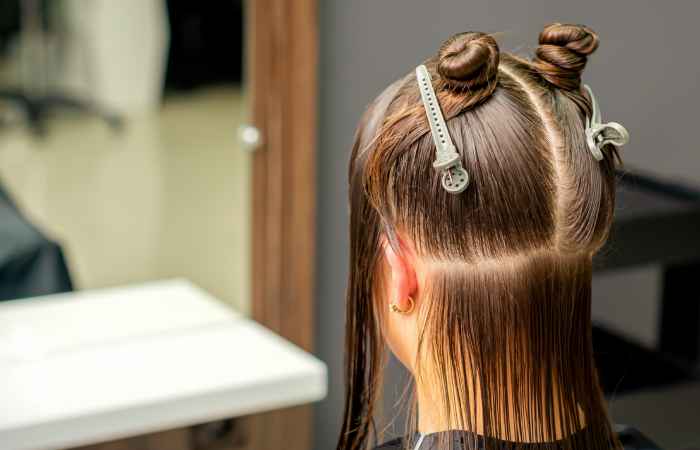
Precise sectioning is key. Find the apex, or the highest point of your head, and section the hair from this point down to in front of your ears. This will ensure that the layers you create blend all the way to the back. Secure the top portion with which you will be working, then clip the rest back and out of the way. You can also divide the rest of your hair into sections with hair clips for evening out the hair lengths later.
4. Establish Guide Length
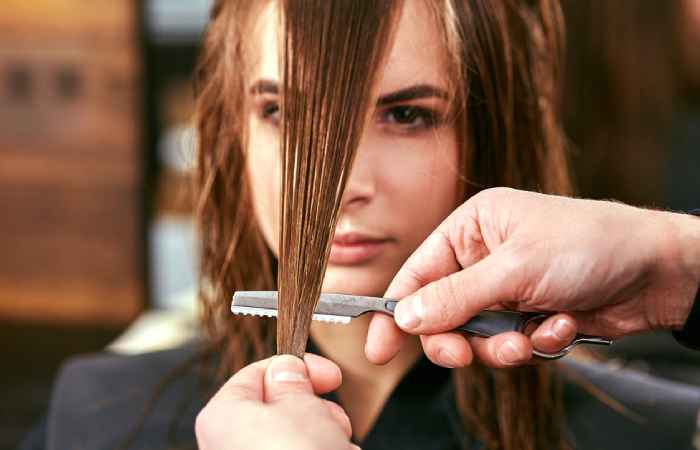
Determine the starting point for your shortest layer. It could be just below the chin or at nose level. Snip a tiny piece with your shears to establish this length guide – it will direct your following cuts.
5. Mind Your Texture
Texture affects how your hair lays once it is dry. For straight hair, cut around the mouth area, for wavy hair, cut between the mouth and chin area, and for curly locks, aim for chin level to allow for bounce and shrinkage once it dries.
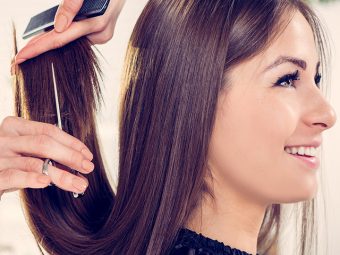
6. Begin Cutting
You can cut in two ways:
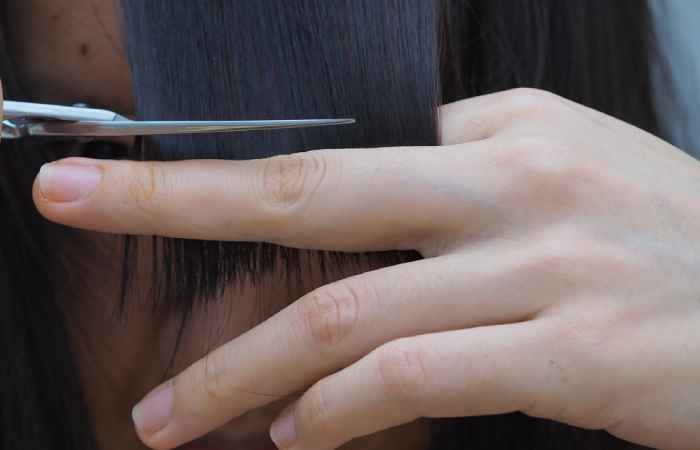
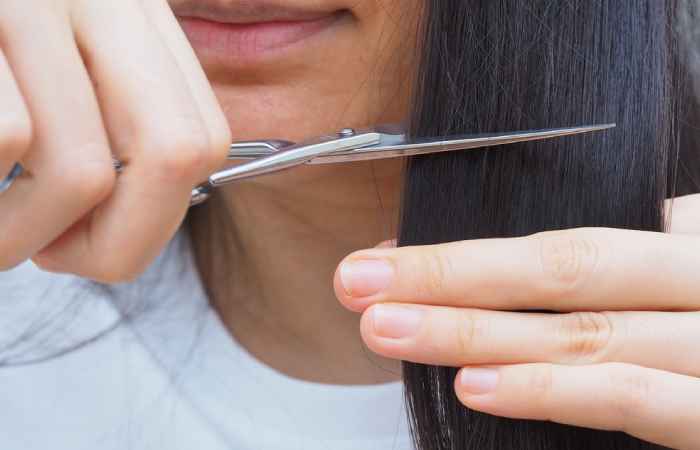
- With a steady hand, cut straight or at a soft angle or concave shape following the guide length you have defined, adjusting the scissors as you go for a gradient effect.
- For natural-looking layers, use the twist-cutting technique. Twist a section of hair then trim the ends. This creates soft, face-framing layers that effortlessly blend into the rest of your hair.
7. Blend Side Layers
Unclip the next hair sections to cut the side layers. Working from the front towards the back, blend these into the length gradually to ensure the layers flow cohesively.
8. Check Progress
Stop after each section to check the length and symmetry. Minor differences are to be expected, but you want to catch anything drastic early on to even things out.
9. Check For Additional Layers And Texture
Continuously check for even, light layers. You may need to make additional smaller snips or cuts to create a soft, textured look.
10. Style Your Layers
To reveal the true effect of your new layers, blow dry and style as you would usually wear your hair. This step will allow you to see if any further adjustments are needed.
11. Practice Regular Maintenance
To maintain these layers, give them a trim every 6-8 weeks, or as you see fit in terms of your hair growth rate. Regular trims will keep your layers looking fresh, your hair healthier, and your style more polished over time.
Face framing layers are an excellent choice for anyone who wants to rejuvenate their appearance. So remember, patience and precision will guide you through this process.
 Did You Know?
Now that you have a step-by-step guide to the art of cutting your own face-framing layers, it is worth noting why incorporating these layers into your hairstyle can be such a game-changer for your look. Besides the satisfaction of a well-done DIY job, face-framing layers bring a host of benefits that enhance both the movement and shape of your hair, as well as your personal style. Let us explore these advantages in detail below.
Advantages Of Face-Framing Layers
You will see that face-framing layers never seem to fade from fashion. But why is that? It is because the cut is incredibly versatile and adds a dynamic edge to any hairstyle. Whether you have just learned how to cut face-framing layers or are considering getting them done professionally, these layers can work wonders for your overall look. Let us break down some of these fantastic benefits.
- Complement All Face Shapes: One major perk of face-framing layers is their ability to flatter every face shape, whether round, oval, square, or heart-shaped. These layers can be tailored to highlight your best features and soften others, giving your face a more balanced and harmonious appearance.
- Boost Volume And Movement: Layers can revive lifeless locks by introducing more movement. They break up the weight of the hair, giving it a bounce and flow that is especially noticeable when on the move.
- Enhance Texture And Fullness: These layers are not just for show; they actually enhance the texture of your hair, whether it is naturally straight, wavy, or curly. And for those who feel their hair is a little on the thinner side, face-framing layers create an illusion of fullness that is hard to beat.
- Streamline Styling: Let us be honest, spending hours on styling your hair is not an ideal use of your time. Face framing layers offer the ideal solution, falling naturally in place and reducing the need for constant touch-ups. These layers really do meet the sweet spot of effortless styling and a polished look.
- Offer A Quick Change-Up: Sometimes, a subtle change makes a big difference. Without the commitment of a total hair transformation, face-framing layers can refresh your style, making an efficient alternative that has a significant impact.
Whether you decide to give it a go yourself or leave it in the hands of a pro, the advantages of getting face-framing layers are undeniable. It is a simple way to inject some zest into your look, and getting new layers might be just the shake-up you need!
Now that we have recognized the advantages of face-framing layers and how they can elevate personal style with ease and grace, it becomes equally relevant to understand how these specific layers differ from general layering techniques. Understanding the unique qualities of each hair styling technique can help you approach your next hair makeover with clarity and confidence. In the next section, explore the core differences between general and face-framing layers.
Difference Between Layers And Face-Framing Layers
When it comes to hairstyles, “layers” is a term that gets tossed around a lot, so much so that it can be a bit confusing when we hear “face-framing layers.” Diving into hair jargon, we find that there is a distinctive difference between the two. While you may have mastered how to cut face-framing layers, it is essential to recognize that this technique is a specific type of layering method.
- Regular Layers: These are incorporated throughout your hair, can be evenly distributed or focused on specific sections, and offer a seamless transition from length to length. The chief aim is to endorse texture and volume, whether your hair is pinned up or swinging loose. They seamlessly blend in and give you that coveted voluminous look. These versatile cuts add dimension and movement throughout your hair, regardless of length.
- Face-Framing Layers: These layers are all about accentuating your facial features. They begin at the top front and usually taper down around your face, boldly stepping to specifically outline and compliment your face shape. These layers can start anywhere from your chin to your collarbone, fulfilling a dual role by shaping your hair and bringing focus to your visage.
 Trivia
So, there you have it! Regular layers modify the body and texture of your overall hair, while face-framing layers act more like a highlighter, not only giving your hair a lively edge but also drawing attention to the angles of your face. Understanding this distinction can be super handy the next time you decide to switch up your hairstyle, whether at home or the salon.
Now, with this guide, you can create a stunning look that highlights your natural beauty from the comfort of your own home. Learning how to cut face-framing layers gives you control over your style evolution and ensures that your hair always complements your changing preferences and lifestyle. Like any craft, it might take a little practice, but the satisfaction of mastering this technique is all part of the fun. So, give it a go, practice on a wig, snip at your own pace, and enjoy a fresh, personalized look that you can claim as your creation.
Frequently Asked Questions
How do you cut face-framing wisps?
To cut face-framing wisps, you need to gently pull fine strands of hair forward and trim them to the desired length with soft cuts. You usually start near the chin and blend them into the rest of your hair for a subtle, airy effect.
Where should face-framing layers start?
Face-framing layers typically start at the chin or cheekbones, but the priority is tailoring them to complement the individual’s face shape, accentuating their features and enhancing the overall hairstyle. The length also depends on the hair texture.
What’s the difference between curtain bangs and face-framing layers?
Curtain bangs are a style of fringe that parts in the middle and sweeps outwards towards the temples, framing the face on each side, whereas face-framing layers are stratified cuts that start from the temples and descend in varying lengths to outline the face.
Can face-framing layers be added to any haircut?
Yes, face-framing layers can be integrated into virtually any haircut, regardless of length or style, to add extra dimension and highlight facial features attractively.
Key Takeaways
- Face-framing layers accentuate personal style and enhance one’s facial structure.
- They increase hair movement and volume without requiring extensive restyling.
- It is a low-maintenance option for a refreshing yet subtle style upgrade.
- It is suitable for all face shapes, offering tailored accentuation of features.
- Regular trimming every 6-8 weeks keeps the layers in perfect condition.
Face-framing layers are an excellent choice for any hair length, and you can do this from the comfort of your home! If this sounds like a great deal, check out this video for the dos and don’ts of cutting face-framing layers.


