7 Easy Steps To Straighten Curly Hair And Mistakes To Avoid
Getting that silky smooth hair is not difficult if you know the steps to straighten your ringlets.
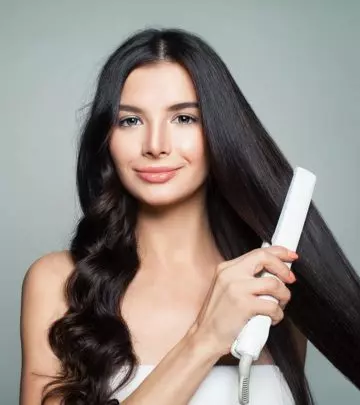
Image: Shutterstock
The two best options to change your look dramatically and surprise your family and friends are to either go for straightening or curling (depending on your hair type). But the procedure to straighten your curly hair can be taxing and time-consuming. While many hesitantly straighten their hair (as they fear damaging their tresses), others do not even risk taking the step. However, these apprehensions can be ignored if you use the right equipment, technique, and process. This read will let you know about some of the best ways to straighten your locks without damaging them, what keratin straightening treatment is, and a few important precautions to keep in mind. Let us get started.
In This Article
What Should You Know About Curly Hair?
Curly hair can have different textures, and you should know a few things about them before going from curly to straight hair. There are three natural curly hair textures – wavy, curly, and coily. Straightening wavy or curly hair is easier than straightening coily hair. Here is the step-by-step guide to learn how to properly straighten your curly hair without any damage.
How To Straighten Your Curly Hair
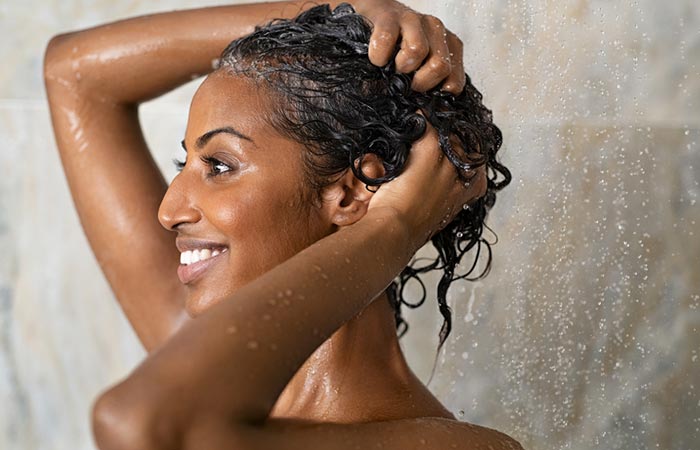
Step 1: Rinse Your Hair With A Gentle Shampoo
Curly hair is more prone to frizz and requires a gentle shampoo and a nourishing deep conditioner to prevent any damage and frizz. Wash your hair with frizz-fighting shampoo and conditioner with lukewarm water to prepare your hair strands for the straightening process. Since hot water can strip off all moisture and natural oils from your hair, always use lukewarm water to rinse your hair. You should use hair care products that are gentle on your hair and can help prevent the damage caused by straightening tools.
| Note: Apply a small amount of hair conditioner to the ends and lengths of your hair (avoid the roots). Also, use a T-shirt or a microfiber towel (it is gentler on the hair) to squeeze out excess water from your hair. |
Step 2: Detangle Your Knotty And Tangled Hair
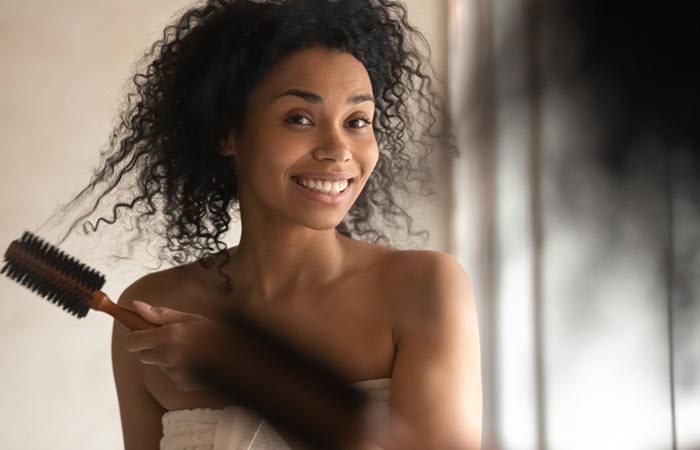
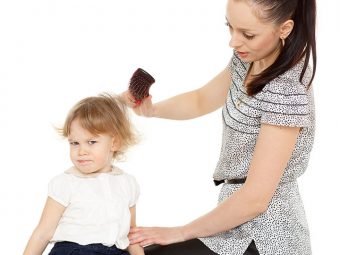
As curly hair easily loses its moisture and becomes dry, it makes your hair messy and tangle-prone. You should always use a wide-toothed comb to detangle your curly hair before straightening it. After all, you want your locks to be as smooth as possible. Gently glide the wide-toothed comb through your locks, starting from the ends and working your way up to the roots. It removes knots more efficiently and without pulling out your hair. Do this until your hair is tangle-free.
Note: Always comb your hair before taking a shower. This will prevent your hair from getting tangled when you wash it. Furthermore, do not brush your hair when it is wet and more prone to breakage.
Step 3: Prepare Your Locks For Straightening
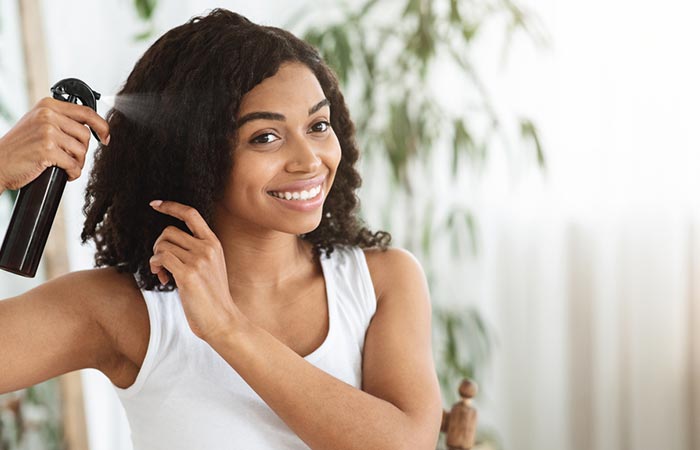
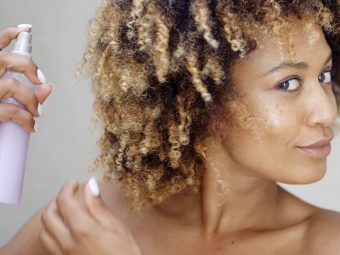
Preparing your damp curly strands the right way before using a blow dryer is an essential step in the straightening process. Apply a heat protectant before using a blow dryer. It will protect your hair from heat damage. It provides up to 450-degree heat protection, seals in shine, and tames frizz. However, remember that using too much heat protectant can make your hair limp and sticky.
 Quick Tip
We recommend using heat protectant sprays due to their light formulations. Spray evenly from a 15cms distance and let your hair dry before styling.
Step 4: Use A Blow Dryer
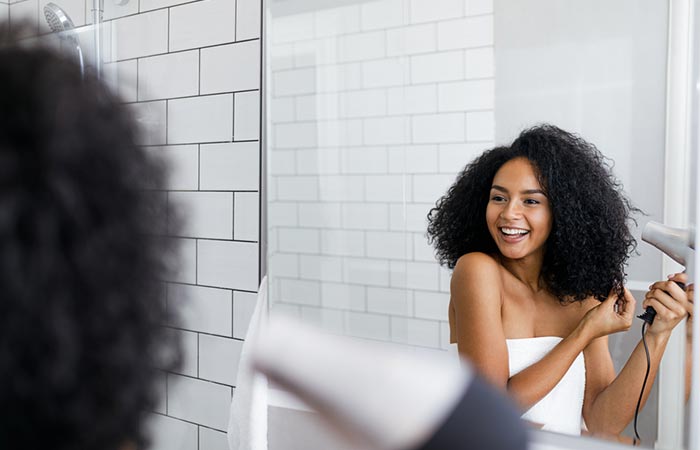
If you have very thick, curly hair, blow-drying it can take more time. Grab a blow dryer and round bristle brush and section off your hair so you can focus on drying one section at a time. Brush down the section slowly while blow-drying it. Use the blow dryer on a low heat setting to minimize the amount of heat your hair is exposed to. Also, make sure that your hair is completely dry before moving on to the next step.
Step 5: Grab Your Hair Straightener
Pick up a small section and secure the rest of your hair with clips. Set your straightener on a low or medium heat setting. Once your flat iron has heated up, run it through the section of hair. Remember, never use a flat-iron on wet or damp hair.
Step 6: Use The Chase Method
If your straightener does not give you poker straight locks, then you need to use the chase method. It will give you the desired results you are looking for. In this technique, you need to use a rat-tail comb and a straightener at the same time to straighten your hair. It works to reach every strand of hair and limits the amount of heat you apply. Also, you should be able to smoothen your hair with just one pass with this straightening technique.
Place the rat-tail comb an inch or two below your roots, with the flat iron right above it. Gently comb through your hair and run the plates through it at the same time to straighten your locks. Repeat until you have silky locks.
Step 7: Spritz On Some Hairspray
If you want a fuller look, apply a volumizing spray at the roots before you straighten each section. When you are all done, use a small amount of hair serum (works best on thick, coarse hair) or spray (works best on normal to fine or thin hair) for a polished look. Also, remember that using too many leave-in hair products will weigh down your hair and make it greasy.
Destiny S. Harris, a blogger, shared her experience of straightening her curly hair. She said, “The whole process of straightening my hair was never fun. It took hours of pain and agony, and I’m pretty sure I was sweating, which only worked against my naturally curly hair (i).”
If you don’t want to straighten your curly hair at home and are looking for a more long-term solution, you can go for a keratin hair straightening treatment. Find out all about it in the next section!
Keratin Straightening Treatment
If you regularly straighten your curly hair, then you know it is a tiresome process. In that case, you can consider thermal hair straightening or keratin straightening treatment.
A keratin hair treatment can take anywhere between 1 to 2 hours, depending on your hair type, length, porosity, and thickness. Before starting the treatment, the stylist shampoos your hair with a clarifying hair cleanser to remove any dirt and product residue. Once your hair is clean and fresh, it is divided into sections. Then, the stylist applies the keratin solution to your hair and lets it sit for an hour. Finally, they seal your cuticles and lock the keratin into your hair with a flat iron. This is an artificial way of putting keratin back into your hair. This treatment has many benefits like:
- Shortens your blow-drying time by 50%.
- Shiny and frizz-free hair for days without washing it.
- Fixes damaged hair and maintain a volumized look.
- Makes your hair smooth, shiny, and manageable.
- Frizz-free, glossy, and lustrous hair.
 Quick Tip
With proper care and maintenance, a Keratin treatment can last for as long as 6 months, saving you the strain from heat styling.
Straightening your curly hair will give you a new look. But, you should avoid making some mistakes while straightening it. Let’s learn about them in the following section.
Mistakes To Avoid While Straightening Your Curly Hair
Before you start straightening your hair, make sure you do not make any of the following mistakes in the process:
- If you blow-dry your hair in the wrong direction, you will reduce the volume of your hair. While blow-drying, your hairstylist pulls your hair upward to create volume at the roots. Hence, blow-dry the roots first and then the rest of your hair in a downward motion.
- Make sure that you are not using too many hair care products before straightening your hair. All you need to use is a heat protectant that protects your hair from damage. When it comes to styling products, a little goes a long way. Also, too much conditioner on your hair also makes your hair limp and greasy.
- Don’t sleep with your styled hair right away. The way you sleep on your hair can help preserve your style or destroy it, depending on what you do. Use a silk pillow cover instead of a cotton pillow cover to avoid hair damage.
- Not everyone’s hair texture is similar, so a high temperature is not suitable for all hair types. Always use a curly hair straightener with multiple heat settings. You should ideally use a low-temperature setting for your strands to limit the heat damage.
- Always consider the size of the sections you are straightening. If you find that your hair is not getting as straight as you want, decrease the size of the sections you are working with. Flat ironing large sections of curly hair may cut down on styling time, but it will not give you the best results.
Infographic: A 7-Step Tutorial For Straightening Curly Hair
Switching up your hairstyle from curly to straight and playing with its texture is now achievable with the right approach. However, doing it safely is critical to avoid damaging your natural locks. In the infographic below, we have listed the 7 essential steps to straighten your hair with minimal damage. Check it out!

Illustration: StyleCraze Design Team
Straightening your curly hair could be an easy and quick way to give an awesome spin to your daily look. However, the fear of hair damage that comes along with the process holds people back from straightening their locks at times. And that is where our article comes to the rescue by listing some effective ways to counteract the heat damage that comes with the process. Follow the steps religiously, and you will be all good to flaunt as well as manage some soft and sleek tresses without even going to a salon. Be mindful of the tips and tricks shared and perform the techniques well. After all, you do not want to let your fear take away your shine!
Frequently Asked Questions
Can curly hair be straightened permanently?
No. There is no method to alter the hair type and texture permanently. However, several straightening treatments may last for longer periods, but you must go for regular touch-ups to maintain the straightening effect.
Can curly hair become straight naturally?
No. However, there have been a few rare cases where curly hair has turned straight naturally. Experts could not explain why this happens but they suspect genetics, hormones, and the body’s chemical make-up might be responsible in some way.
How long does straightened curly hair last?
The effects of permanent straightening or Keratin treatment would last up to 4-6 months. Rebonding treatment results last up to 5-7 months.
How often can you straighten your curly hair without damaging it?
If you have curly hair, heat treatment is bad for it. You must limit the straightening process to once every two months.
Key Takeaways
- Straightening your curls is the easiest way to get a hair makeover.
- All you need is a heat protectant, a flat iron, and a serum to straighten your hair.
- Keratin straightening treatment or thermal hair straightening are artificial ways of putting keratin back into your hair for a long-term frizz-free and straight look.
Discover the health benefits of black currants! Watch this video to learn how this superfood can help improve your overall health and well-being.
Personal Experience: Source
StyleCraze's articles are interwoven with authentic personal narratives that provide depth and resonance to our content. Below are the sources of the personal accounts referenced in this article.
i. It Took Me Too Long To Fall In Love With My Hairhttps://medium.com/black-women/it-took-me-too-long-to-fall-in-love-with-my-hair-8ee8c90c14cb


